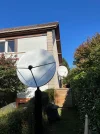
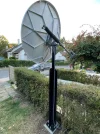
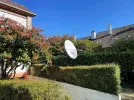
Another Channel Master SMC 1m20 restoration X2

A few years ago I painted my pole and polar mount in black Hammerite paint, it's now almost impossible to finely adjust azimuth as the painted surfaces stick together, so I have to rotate the pole. I'm not saying it will be a problem for you but it's something to be aware of :)
I hope that will not happen and i really hope to not have to move the polar mount at this height before a very long time ! :)
Anyway i know this probleme .
i already found a solution, this is to use spray paint for the upper par.
The rest of the pole with a roll.
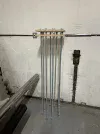
 
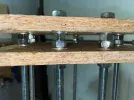
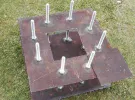
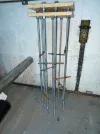
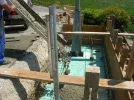
I advanced on the foundation part with the templats and threaded rods and bolts .

IMG_7115.webp
I imagined it like that but I'm waiting for your advice.

IMG_7120 (Copier).webp

the hole and the concrete are normally for this weekend :)
 
Is this to get the pole plumb or just to mount it to the concrete? If for adjustment use nyloc nuts, or additional plain nuts to help stop the nut from moving. I use extra nuts with a dab of thread lock on my pole.
 
Is this to get the pole plumb or just to mount it to the concrete? If for adjustment use nyloc nuts, or additional plain nuts to help stop the nut from moving. I use extra nuts with a dab of thread lock on my pole.
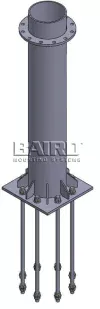
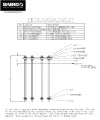
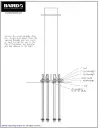
The two wooden templates exactly copy the base of the king post and match all the holes exactly.
The feet are too heavy to use it directly as the template.
the threaded rods are therefore at the same time the reinforcing bars of the foundations and the fasteners.
I will definitely add some real concrete irons.
but I am not inventing anything here, it is exactly the system used for large antennas.

1633590013063.webp
1633590058634.webp
1633590088446.webp
 
Forgot to mention, that was for my 4.6m Andrew antenna.
What size are nuts and threaded rods?
Do you have a photo of that in the concrete?
 
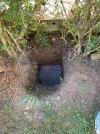
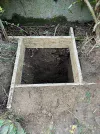
hole finished and ready for tomorrow.

IMG_7123 (Copier).webp
IMG_7125 (Copier).webp

Concrete iron reinforcement for the threaded rod structure

IMG_7128 (Copier).webp
 
You can drop a lot of loose hardcore into that hole once the studding is inserted , to save a large amount of concrete pouring.
 
it's not great but it's my best ...
I'm running out of concrete as you can see.
at the end, this makes 180kg of concrete.

IMG_7131.webp
 
No compromise with my foundation.
120 kilos of steel & 7 cubic meters of concrete poured from a truck. I can sleep tight at least. :)

1.webp
 
New step today.
This weekend maybe the kingpost will be on it :)

IMG_7133.webp
 
Clean and ready
F216DD43-4617-42EC-A747-454ABBDD5746.webp
 
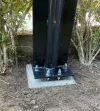
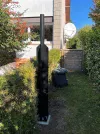
with this sunny day I was able to install the base and the antenna and cables.
The template system worked really well.


IMG_7145 (Copier).webp
IMG_7144 (Copier).webp

My setting is 89.95 ° North / South and 90 ° East / West, not too bad

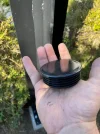
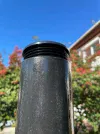
I finished the kingpost part with this insert.

IMG_7148 (Copier).webp
IMG_7149 (Copier).webp

Now the antenna

IMG_7150 (Copier).webp
IMG_7158 (Copier).webp

IMG_7153 (Copier).webp

and now after 10 years without doing it and no more markings on the antenna, it is now necessary to align it ...
First thing the motor is too old and stuck, I will put a new one.
But not today ! :)
 
Ok,
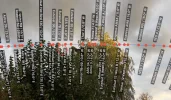
I oriented the antenna yesterday and for the moment I am picking up from 42 ° East to 34.5 ° West. I think I can catch 45.1 ° East but I have a little problem on the West side with rather low levels. on the east I have very high levels except near the center with a small problem of trees as you can see ...
Sans titre 1.webp

Only 0.8 ° West is affected but remains admissible with small freezing sometime.

my, another problem is with the positioner. It is a model that I found at 5 euro ... It works fine but seems to go to sleep after a while and does not react to the DiSEqC command. I have to press the On / Off button to wake it up.


IMG_7191.webp

if you have any idea how to fix it :)
 
Back
Top