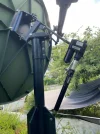
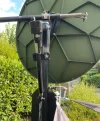
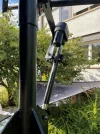
Another Channel Master SMC 1m20 restoration X2

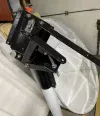
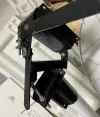
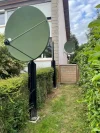
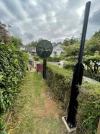
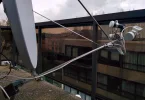
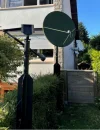
Painting and reassembly finished for this one. I turned the motor over for a better access to these connections.
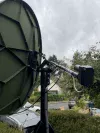
I'm waiting for the sun to adjust the polar mount and the satellites position.

and it's over for this one ! :)

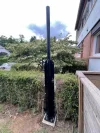
I have now to derust and paint the 2nd polar mount and the 2m50 kingpost (this one is only 2m high)
1647014412435.png
 
Last edited:
Polar mount finish for the next installation.

1648368964495.webp

1648369036583.webp

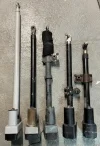
My colection of actuator.
For this installation i will use the seconde on the left, a 15 years old 18".

1648369409903.webp
 
With the arrival of sunny days, it's time to lay the foundations for my other kingpost.
Same story but higher, 2m50.

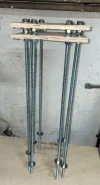
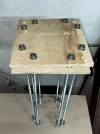
I finished the threaded rod part with guides.

2A.JPG

2B.JPG

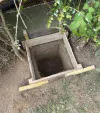
Now, hole and 200 kg of concrete...
 
E520D4CF-5F16-4529-A063-188D59B88A06.jpeg

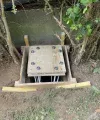
Last test before tomorrow's concrete

07C8AB9B-E339-4562-A419-01C31AD63A6D.jpeg
 
Last edited:
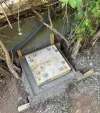
Concrete done

2C.webp

I started working on the king post.

2D.webp

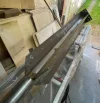
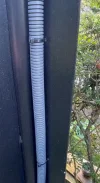
I start with the cable tie holes

2G.webp

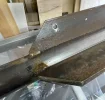
With here an extra bigger hole for an elevation jack

2E.webp

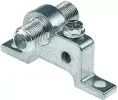
And here for a grounding F socket

51yXRck9X2L._AC_.webp

2F.webp
 
Hi everyone,
I finally installed today my 2m50 king post

KINGPOST 2 1.JPG
He will receive the Channel Master who is currently on the 2m one in front.

KINGPOST 2 2.JPG

KINGPOST 2 5.JPG

This antenna will remain in Ku only with an 18" actuator + VBOX2

I added a lightning arrester

KINGPOST 2 3.JPG
 
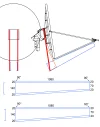
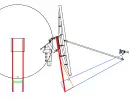
To add a DiSEqC motor as a multi LNB I imagined a stronger double lower arm.
the modification is composed of two 20x30 aluminum tubes here in red.
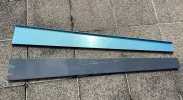
Two folded aluminum plates here in blue.
reinforcements here in orange are provided if necessary.
The two original upper arms will be attached to the new structure.


antenne 2.webp

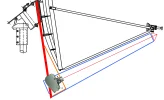
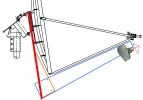
I still hesitate on the position of the motor.
Under the reflector or on the arms.
With this arm structure, the two solutions are easily envisaged.


antenne 4.webp

antenne 5.webp
 
To add a DiSEqC motor as a multi LNB I imagined a stronger double lower arm.
the modification is composed of two 20x30 aluminum tubes here in red.
Two folded aluminum plates here in blue.
reinforcements here in orange are provided if necessary.
The two original upper arms will be attached to the new structure.


View attachment 143398

I still hesitate on the position of the motor.
Under the reflector or on the arms.
With this arm structure, the two solutions are easily envisaged.


View attachment 143399

View attachment 143401

Excellent graphics :Y.
 
I just received the arms for the multi LNB.

B1.webp

Here is what it should look like.

B2.webp
 
what a lovely coloured dish that is.
 
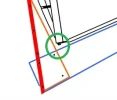
@zorrin Many moons ago I was at @Trust place and we tried to make new LNB support structure IMG_20150207_170523a.webp , but that was total failure as construction was not stable and new arm was wobbling a lot. I think that this structure should be connected to the dish itself somewhere in the green square. ScreenHunter 210.webp I also experimented a little with LNB-changer on 1,2m CM dish and liked the motor installed under the dish. That was so long time ago...for sure, today I would do things differently.
 

Attachments

  • IMG_20160223_131342.webp
    IMG_20160223_131342.webp
    600 KB · Views: 44
@zorrin Many moons ago I was at @Trust place and we tried to make new LNB support structure View attachment 143521 , but that was total failure as construction was not stable and new arm was wobbling a lot. I think that this structure should be connected to the dish itself somewhere in the green square. View attachment 143520 I also experimented a little with LNB-changer on 1,2m CM dish and liked the motor installed under the dish. That was so long time ago...for sure, today I would do things differently.
Hi RimaNTSS

When you say "I also experimented a little with LNB-changer on 1,2m CM dish and liked the motor installed under the dish. That was so long time ago...for sure, today I would do things differently".
I'm not sure I understand correctly.
You mean what would you do now?

Now for your feedback about the wobbling.
I thought about it too, that's why I keep the arms on the sides to attach them to the new structure.
I'm still figuring out how to use the center arm hole in purple here.

antenne 6.webp

I also planned several reinforcements in aluminum that I would put according to my tests.

antenne 7.webp

The photo at Trust's house gave me an idea for adjusting the setting, I hadn't thought of that...
I will make a pivot point in green here and add a threaded rod for adjustment like you.
 
For sure, if I was doing that today, I would try to avoid overcomplicating things (I have this tendency sometimes :-doh ). For sure, I would use original feedarm mounting holes on the surface of the dish (including the central one at the bottom of the dish). CM 1,2m is relatively small dish and adding much weight near the focal point is not a superb idea, therefore the motor is better to be placed at the bottom of the dish. In addition, it is better to choose the smallest motor available.
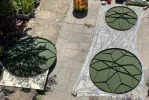
For sure, I would use INOX materials, that is my personal preference.
Anyway, it is good project of you. Most likely, you will redo some things afterwards, but that is normal learning by doing process. Good luck.
 
For sure, if I was doing that today, I would try to avoid overcomplicating things (I have this tendency sometimes :-doh ). For sure, I would use original feedarm mounting holes on the surface of the dish (including the central one at the bottom of the dish). CM 1,2m is relatively small dish and adding much weight near the focal point is not a superb idea, therefore the motor is better to be placed at the bottom of the dish. In addition, it is better to choose the smallest motor available.
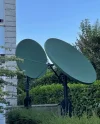
For sure, I would use INOX materials, that is my personal preference.
Anyway, it is good project of you. Most likely, you will redo some things afterwards, but that is normal learning by doing process. Good luck.
Thank you @RimaNTSS , the goal is to play, make mistakes and move forward. :)
I hope you and others like @Trust will give me some advice along my tests.
 
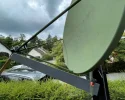
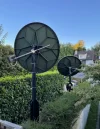
Ku antenna is in its place now.

ku 1.webp

Now paint for any other Channel Masters.

antenna 1.webp
 
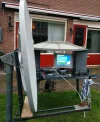
the antenna for the LNB changer is now in place.
Ready for its adjustment.

ANT 1.webp

ANT2.webp
 
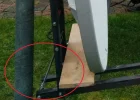
First test for adding a jack for elevation.
the L comes from an office chair, it serves to validate the concept.

1659117447182.webp

1659117489620.webp

1659117541053.webp
 
What kind of paint did you use, and why green?
 
What kind of paint did you use, and why green?
the antennas are over 20 years old.
The resin on the front part has been worn away by time.
The structure had to be protected.
I made the mistake at the beginning of putting on too reflective white paint.
I went green seeing the work of @Manikm909 on the same model in 1m80.
My antennas are at the front of my house facing the street.
They had to be made almost invisible.
I chose to use RAL 6031 in matt, it is army camouflage green or NATO olive.
It was made by a specialized store on the basis of a matte white water-based exterior paint.
30 euros for 3 liters.
 
the antennas are over 20 years old.
The resin on the front part has been worn away by time.
The structure had to be protected.
I made the mistake at the beginning of putting on too reflective white paint.
I went green seeing the work of @Manikm909 on the same model in 1m80.
My antennas are at the front of my house facing the street.
They had to be made almost invisible.
I chose to use RAL 6031 in matt, it is army camouflage green or NATO olive.
It was made by a specialized store on the basis of a matte white water-based exterior paint.
30 euros for 3 liters.
Why reflecive was a mistake?

I did paint my CM/Andrew antennas with 2 compound Hempel Polyurethane paint RAL 7035 and RAL 7038 and I found 7038 is the original CM colour.

I think this paint it will last forever. It looks like a layer of plastic protecting the antenna. This summer I had in my region 46ºcelcius, the paint looks like it was painted today. I painted my antennas in May 2021,
 
Back
Top