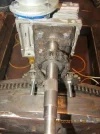
DIY Horizon to Horizon Polar Mount

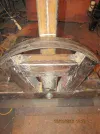
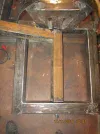
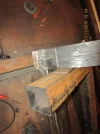
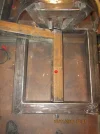
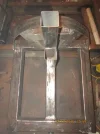
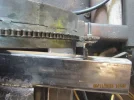
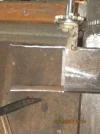
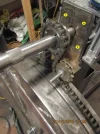
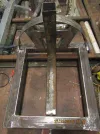
Perfect, I can weld this up now, part that carries the motor need cutting to size,

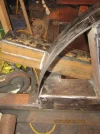
another possible issue that I am aware of the vertical parts should have been made from 50mm, ive taken a gamble that I wont be able to see the arc before it hits the vertical,

If I can see further I will V it out to allow more travel

As you can now see I don't have a full 90 degree E/W, not that we can see that far, it might restrict me on the W side for data transponders, if it is a problem I will cut into the verticals to allow more travel
IMG_3010.webp IMG_3011.webp IMG_3013.webp IMG_3018.webp IMG_3020.webp IMG_3023.webp IMG_3024.webp IMG_3025.webp
 
Surely, that thing is able to carry larger dishes than the 2.4...

Thanks st1. yes could go a fair bit bigger than 2.4 its well on top of the job, but will stick with this, the oilite bushes are very smooth pleased with them,

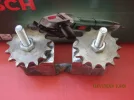
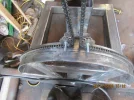
Need to work out balance for drilling the pivot the chain ring makes a good counter balance, want everything nice and smooth.

IMG_3024.webp
 
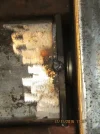
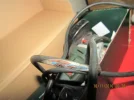
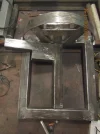
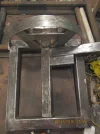
Welding nearly finished, cutting through angle grinder cable slowed me down:eek:, had to buy a new one. will repair other and keep it as spare
IMG_3026.webp IMG_3029.webp IMG_3030.webp
 
Drilled through 3 hidden (behind plaster or/and wall tiles) cables - with "interesting "results! Then, a couple of years ago, when the current cooker was being installed by the Currys delivery/installation teams, one of them got a shock when the cooker touched a wall hook in the confined space in front of it!, Turned out that I had screwed the hook into the wall just a mm or less away from the cable of the cable for the cooker that I installed decades ago - and the very slight impact of the cooker front on the hook drove it into the cable. "Shocking":(
 
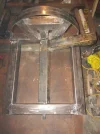
Have some spare time today, been in workshop and made this, just needs welding on, would like to get dish up before Christmas, best get cracked on.
IMG_3052.webp
 
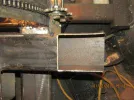
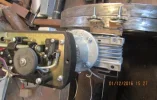
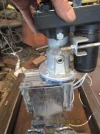
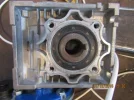
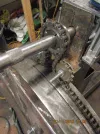
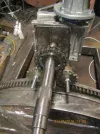
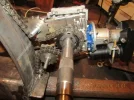
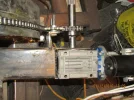
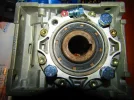
Perfect, thinking ahead pays off, the gearbox motor needs turning so the drain holes are in the correct place , also keeping the weight in the correct position at the rear of the mount not offset , something they haven't done on the one I am copying,

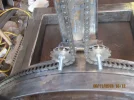
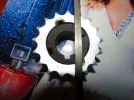
8 small holes to drill and one big one for the gear shaft, will do the big one first as it might need elongating so the chain falls correctly on the sprockets, then it can be bolted in place will use the holes top and bottom in the last picture for fixing it :)
IMG_3069.webp IMG_3070.webp IMG_3073.webp IMG_3075.webp IMG_3078.webp
 
will do the big one first as it might need elongating so the chain falls correctly on the sprockets,
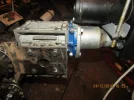
^^^ more luck than judgment :), it falls spot on, need to cut chain to size, shaft to length have a key slot machined into shaft, drill and bolt up.
IMG_3079.webp IMG_3080.webp IMG_3084.webp IMG_3087.webp
 
That is going to be very precise positioning, good job.
 
Awesome work!

Thanks

That is going to be very precise positioning, good job.

Thanks, yes the small steps are very small even on a cheap positioner, the rc 2000 will really come into its own on the weak signals, no play in anything I put all me weight on it and no backlash and moved me no problem,

I estimate 4 mins 70 e/w, will pull the stops out of motor and check later in the week,

Time will tell if the motor will pull the dish from the extreme's of the arc, that's the only thing that might let the build down, I've already located bigger stronger motors just in case ones needed :), will be making the mount perfectly balanced pointing south to make it as smooth as possible,

I really need to get on with the base tbh mount no good with out it

Another small video I did yesterday
MVI 3185
 
blademedia,

You put in a lot of work and time to build this chain driven polar mount and it looks to be very high quality. Have you plans for it now you have installed the 2.4m DH antenna? I hope the chain drive mount gets put into service as it is a top class piece of fabrication and whoever uses it will get many years use out of it.

Rgds
 
Back
Top