Motek H2H and Gibertini 1.5 install.

A

Archive-8

Guest
Took down the 1.5 dish from the polar mount yesterday, finally got around to drilling the back plate so I can bolt the two halfs together.

I need to pick up some longer bolts, the back plate took some drilling but I got it done :)

Hopefully I will have some photos for you tomorrow.
 
Look forward to it. That dish was fine on the 1224 so will be interesting to see how you get on.

Watch your limits and set them on the Vbox as the motor doesn't have hardware ones (at least none that are adjustable).
 
Didn't get as much done as I hoped.

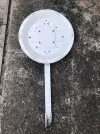
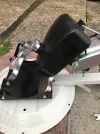
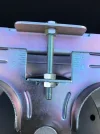
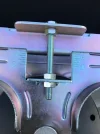
Gibertini 1.5 face plate.
IMG_1761.webp

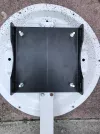
The motek adapter plate joined to the Gibertini face plate.

IMG_1763.webp
 
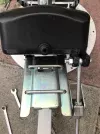
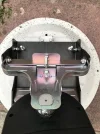
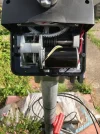
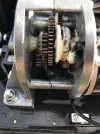
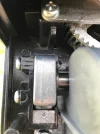
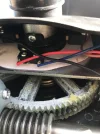
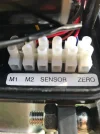
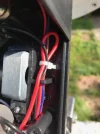
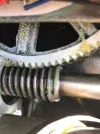
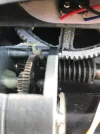
Just had time to mount the motor to the pole, it was getting dark so given up for today.

IMG_1771.webp IMG_1772.webp IMG_1774.webp
 
You have two sheds? :eek:
 
Before you leave it out in the weather you might want to do the following.

Take the two brackets off the main shaft and copperslip them before refitting.
Take off the top cover and every screw you can see inside will benefit from a star washer to stop it working loose.
Get some angled aluminium, 3-4mm thick is fine and drill it so it can fitted to the bottom of the casing using the bolts that hold the motor down. Fabricate another eye bolt similar to the fitted one so elevation is set and clamped from both sides of the unit rather than one corner.
Once it's up put some gaffa tape over the top screw holes that hold the cover on otherwise they'll fill up with rainwater, worth changing the screws for stainless too.
 
Before you leave it out in the weather you might want to do the following.

Take the two brackets off the main shaft and copperslip them before refitting.
Take off the top cover and every screw you can see inside will benefit from a star washer to stop it working loose.
Get some angled aluminium, 3-4mm thick is fine and drill it so it can fitted to the bottom of the casing using the bolts that hold the motor down. Fabricate another eye bolt similar to the fitted one so elevation is set and clamped from both sides of the unit rather than one corner.
Once it's up put some gaffa tape over the top screw holes that hold the cover on otherwise they'll fill up with rainwater, worth changing the screws for stainless too.

I do have the washers and intended to use a washer with every screw.

Don't know if I am up to fabrication, that might be going a litte far. Thanks for the tip about the gaffer tape.

I also have bolt covers plenty of lithium grease i intend to slap on everything.
 
Last edited by a moderator:
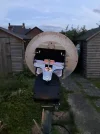
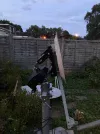
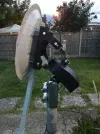
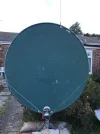
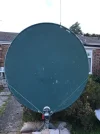
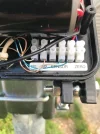
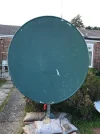
Got a little bit more done today, connected the motor wires, mounted the dish face to the back plate.

Also fitted the lnb boom are and support arms.

IMG_1797.webp IMG_1798.webp IMG_1799.webp IMG_1800.webp IMG_1801.webp IMG_1802.webp IMG_1803.webp IMG_1804.webp IMG_1809.webp
 

Attachments

  • IMG_1810.webp
    IMG_1810.webp
    42.2 KB · Views: 10
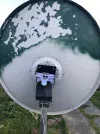
At some point I need to remove the flaking paint and give it another coat.

Still need to align the dish, as I have to had the chance to do that yet.

Hopefully Friday I will be able to do that, if not it will be Saturday.
 
At some point I need to remove the flaking paint and give it another coat.

Still need to align the dish, as I have to had the chance to do that yet.

Hopefully Friday I will be able to do that, if not it will be Saturday.


Nice one, youv'e been busy
 
At some point I need to remove the flaking paint and give it another coat.

Still need to align the dish, as I have to had the chance to do that yet.

Hopefully Friday I will be able to do that, if not it will be Saturday.

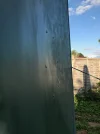
You'll hopefully knock out that ding in the reflector centre at some point.
 
Before you undo everything - again, take some images of the sideviews, edge on, to see if there is distortion of the reflector itself.

If not you might be able to knock the centre flat with a rubber mallet
 
I have just rubbed my hand around that area, can feel it's the top of one of the bolts that's pushed it out like that, a hacksaw is needed I think to cut the bolt a tad shorter.

IMG_1825.webp IMG_1826.webp
 
At some point I need to remove the flaking paint and give it another coat

It looks good nice work,

Reason its flaking its not been rubbed down with fine sandpaper, rub it down with wet and dry sandpaper then wipe it clean before repainting and it will be ok.
 
Back
Top